How To Layer Text & Images To Create A Label Design In Word Label Templates
How to use Word’s “Arrange” tools to layer elements and build up a label design.
Word isn't the best at positioning different elements close together or in layers on top of one another. This is because Word prioritises text, which means images are often pinged out of the way of existing text (or even text that Word assumes you'll want to add later).
Word label templates are also made with elements (like tables or shapes) that you fill with your design. This means that Word might also move parts of your design behind the template itself.
You can take control of all of the elements in a Word label template using the tools in the "Arrange" section of Word's formatting options. We also recommend building layered designs from the background forward, so you can build your design step by step (or layer by layer) in a more controlled way.
The template itself (the table or shapes) should be the absolute background layer of your template. First, add the background layer of your design. Once you’re happy that it’s in the correct position (and layered above your template), add the next layer forward. Once you’re happy with this layer, move on to the next layer forward, and so on, until your design is complete.
Working from the background forward makes the process of building up layered designs much simpler. It helps to prevent problems with your template shifting forward (causing elements in your design to disappear behind your template) and means you don’t have to spend time trying to switch between layers and moving elements backwards and forwards to get your required design.
For example, to create the design pictured below, you would add the coloured background first, the image second, and the text third.

Layering Items In Word Label Templates – A Guide To Word’s Arrange Tools
You can layer items in Word using the “Arrange” tools. The key tools that you need are “Bring Forward”, “Send Backward”, and (if you are using pictures or shapes) “Wrap Text”.
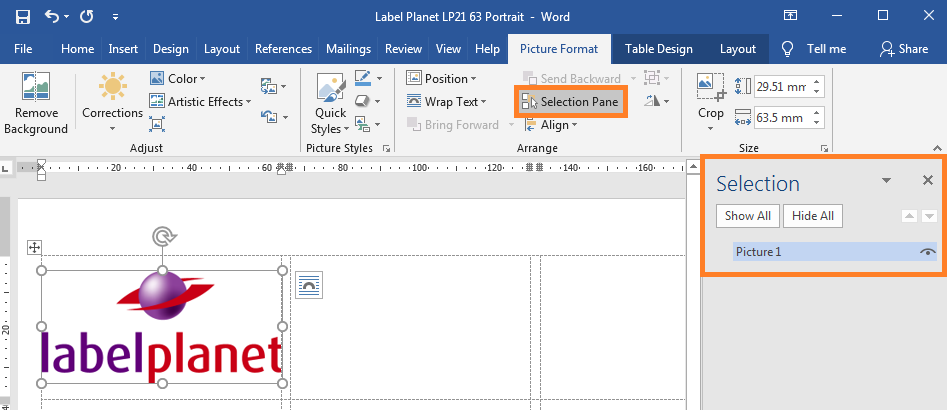
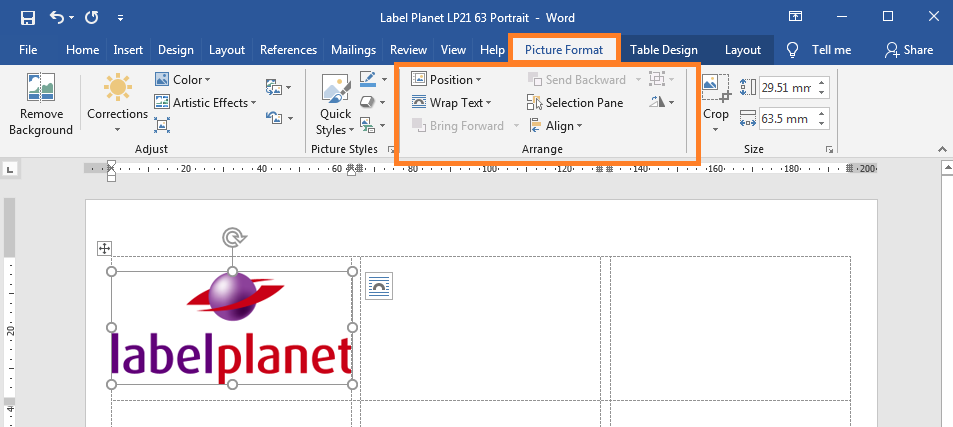
To find the Arrange tools, left click on an item to select it. This will add a “Format” tools tab to the ribbon at the top of the page. The Arrange section is on the right hand side.
You should always change the “Wrap Text” format of images because Word assigns them a default format called “In Line With Text”. This option restricts the positioning of images according to the blank line of text that Word automatically assigns to each label in label templates – because it assumes that you will want to add text at some point.
We recommend using “Tight”; however, if you find that your item keeps disappearing behind other text-based elements, try using “In Front Of Text” instead.
Now you can use the Arrange tools to layer the different elements in your design. We recommend building your design up from the background forward because this means that you simply need to ensure that each new element you add becomes the next layer above the previous one.
How To Use Word’s Arrange Tools
Select the item you want to layer and choose a “Bring Forward” or “Send Backward” option as follows:
- Bring Forward: this moves your element forward by one layer (i.e. in front of the item above it)
- Bring To Front: this moves your element to the front of all of the other layers / items in your design
- Bring In Front Of Text: this moves your element to the front of other layers / items that contain text
- Send Backward: this moves your element backward by one layer (i.e. behind the item below it)
- Send To Back: this moves your element behind all of the other layers / items in your design
- Send Behind Text: this moves your element behind other layers / items that contain text.
Be careful with “Bring In Front Of Text” and “Send Behind Text” because Word prioritises text-based elements over image-based elements. Try “Bring Forward” and “Send Backward” first and use “Bring In Front Of Text” and “Send Behind Text” as backup options. You also need to remember that Word label templates are made using a table, which is an element in your document that can also be layered. If you use the “Send To Back” option, you may find that your item disappears altogether – because it has been moved behind the table used to create your label template.
The “Selection Pane” tool is also useful if your design is made up of a LOT of different elements. It allows you to select any item in your design. This includes items that have disappeared behind other layers (making it impossible to select it normally).