Welcome To Label Planet's Label Template How Tos
This blog is full of tips and advice all about designing and printing label templates. Here you'll find detailed posts that explain exactly what label templates are and how to go about adding designs and printing templates to create your own self adhesive labels, from choosing the right template for your project, adding your required design, and getting your designs printed on your labels.
For more advice on how to design and print adhesive labels, you can also take a look through our Help Section, check out our Labels Blog, or watch our How To Videos. Visit our home page to find all of our labels, sample service, templates, and free resources.
How To Create & Fix Misaligned Label Templates – American Edition
We get a lot of enquiries about label templates from the US so here's a post all abot American labels & label templates.
Label Templates - Template Tuesday Blog Posts From 2017

Here's a complete list of all of the topics we covered in our Template Tuesday blogs from 2017.
Label Templates - Template Tuesday Blog Posts From 2018

Here's a complete list of all of the topics we covered in our Template Tuesday blogs from 2018.
Label Templates - Template Tuesday Blog Posts From 2019

Here's a complete list of all of the topics we covered in our Template Tuesday blogs from 2019.
How To Get Crafty This Christmas & Create Your Own Festive Stickers & Gift Tags

Our top tips for getting crafty with Christmas labels.
Troubleshooting Tips To Take The Chaos Out Of Creating Christmas Labels
Our top tips to help you create your own Christmas labels with as little chaos as possible!
How To Get Your Christmas Address Labels Done & Dusted!
Our quick fire guide to using Word’s Mail Merge Wizard to create Christmas labels.
Troubleshooting Label Templates; Part 3, How Do I Fix My Template?

In part 3, we explain how to fix your troublesome templates.
Troubleshooting Label Templates; Part 2, Why Has My Template Gone Wrong?
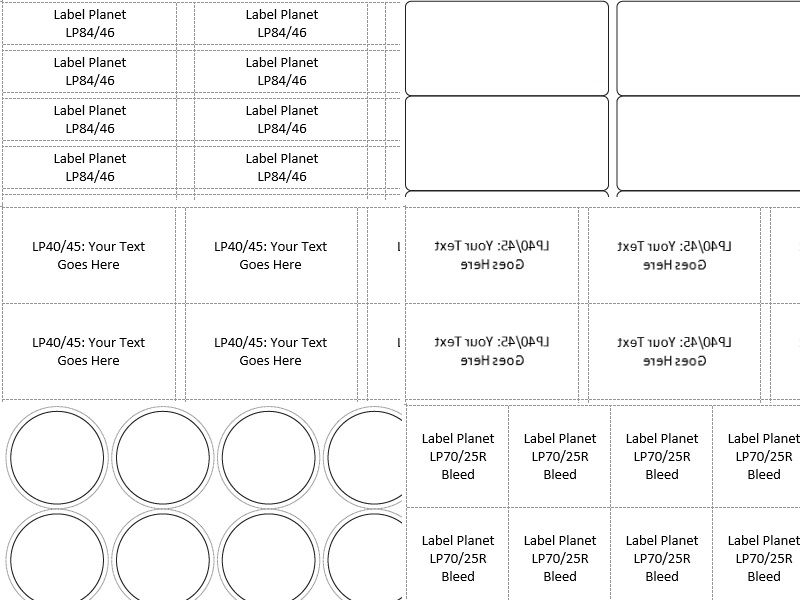
In part 2, we explain why your troublesome templates have gone wrong.
Troubleshooting Label Templates; Part 1, What Has Gone Wrong With My Template?

In part 1, we explain how troublesome templates can go wrong.